Hello everyone! What can you make with two cake pans, some marbles, paper towel rolls, and some spray paint? You can make this "DIY Rotating Supply Organizer" to organize all your supplies. I made this organizer to organize all of my kiddos' supplies for when they are doing homework or want to create some master pieces. I also made one for myself to organize all my office and craft supplies. What makes this organizer even better is the fact that it rotates so you can easily find all the supplies you need.
To make this organizer be a rotating organizer you will need two cake pans and a bag of marbles. I got the cake pans at Wal-mart for .88 cents each and the marbles at Dollar Tree.
Pour the bag of marbles into one cake pan.
Then place the second cake pan on top of the marbles. The top cake pan can now rotate in circles because it rolls on the marbles. I found this idea of the rotating cake pan on Alejandra.tv's youtube channel.
Now to create the different sections to organize the supplies, I just used paper towel and tissue paper rolls.
I cut the paper towel and tissue paper rolls to the different sizes I wanted and then arrange them in the cake pan how I wanted them. Once I arrange them the way I liked them, I staple them together.
After I stapled them together I took the whole toilet paper and tissue paper rolls out of the cake pan and spray paint them a light blue color. Once the paint was dry, I put the rolls back into the cake pan but this time I glued the rolls to the bottom of the cake pan.
The last step was to fill the organizer with all the supplies. I LOVE this organizer and you can use it for so many things and in so many rooms. With it being a rotating organizer, it can be put in the middle of a table or on a shelf and you can still get to whatever supply you need. Also this organizer was so cheap to make as well.
I hope you liked this post. Please let me know in the comments below some of your favorite ways to organize your supplies.
Also don't forget to LIKE, PIN, or SHARE this post if you like it and found it helpful.
Hello Everyone! As you know I love making my own things and if I can get all the materials to make something for free or at dollar tree than it makes me even more happier. Today I want to share with you a DIY Dollar Tree Mini Jewelry Organizer that I created just using Dollar Tree items.
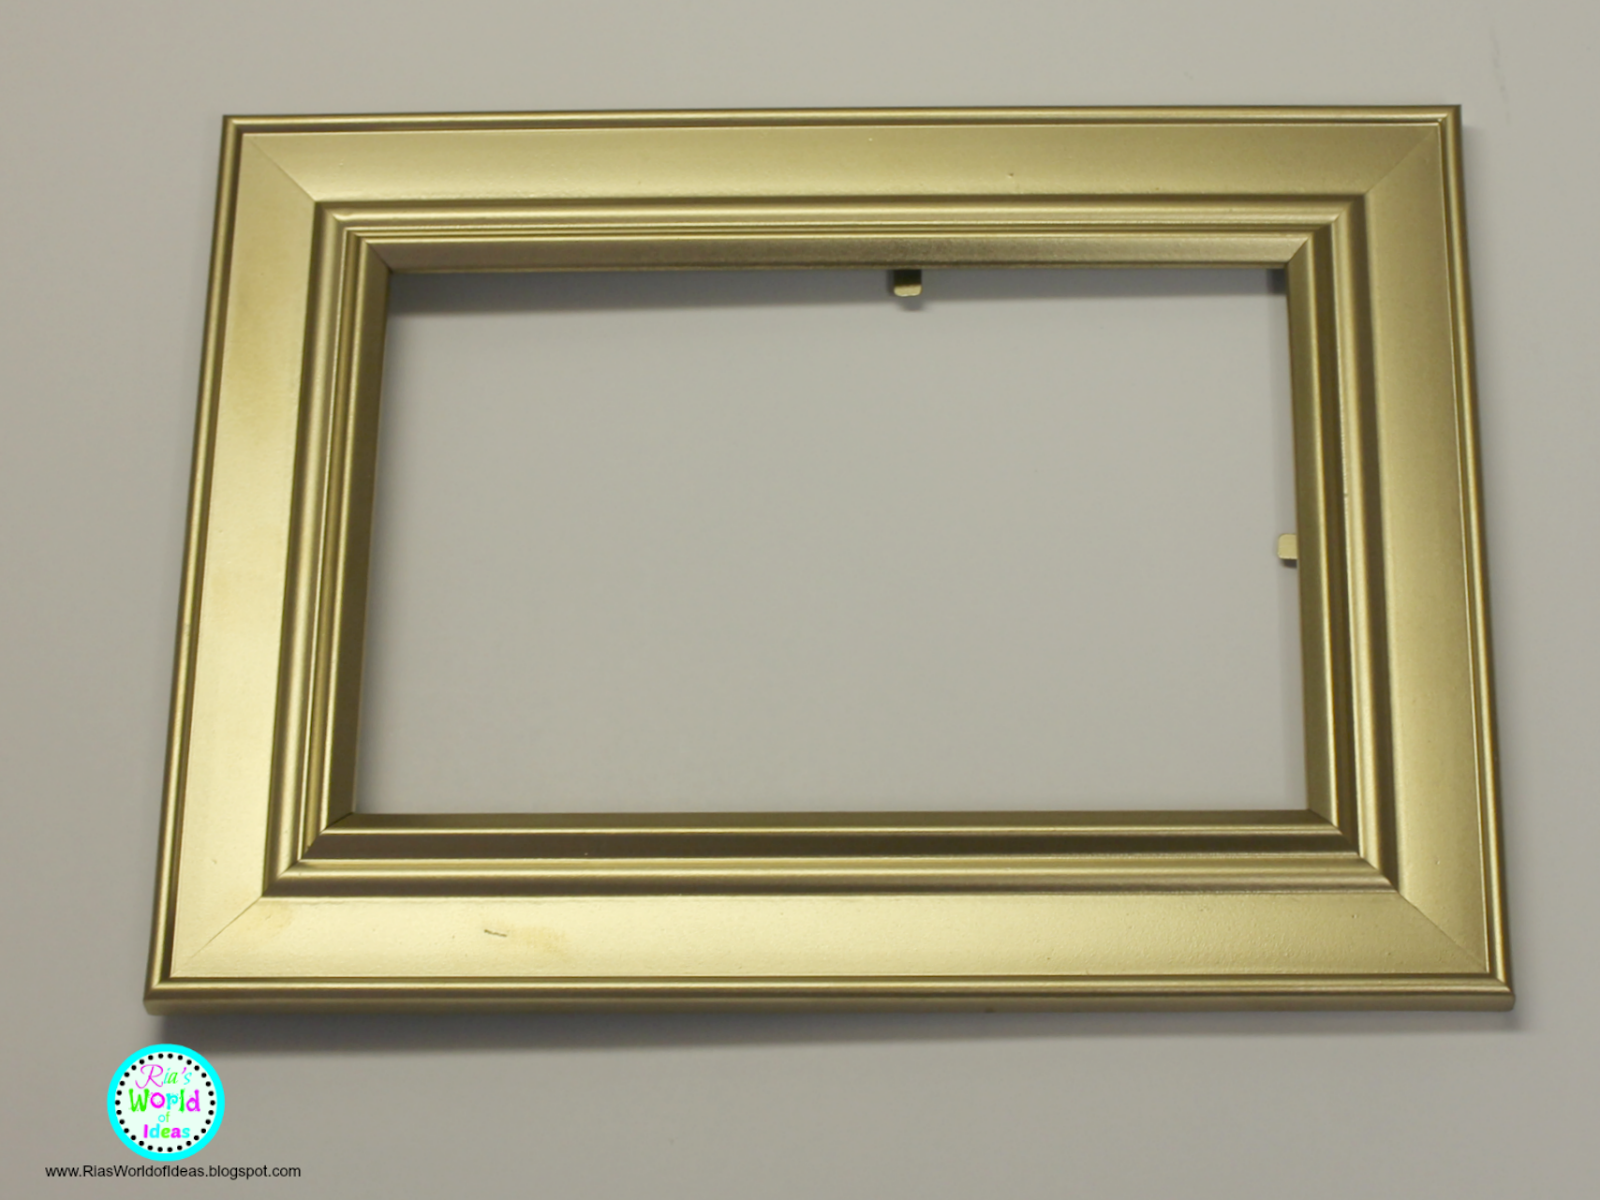
The materials you will need is a 4x6 picture frame and a 6 pack of these long pink skinny hair rollers. You only need six rollers but I got two packs because I always like to have extra on hand just in case.
I wanted my picture frame to be gold so I spray painted it gold with some gold spray paint I already had at home. The dollar tree does sell gold picture frames but they didn't have any the day I went in to get my materials.
Then I took out the metal that was in the inside of the rollers.
Now it was time to glue. I was going to use hot glue but I decided to use E6000 instead because the hot glue would burn the foam rollers. I flipped the picture frame over and glued the rollers in onto the back of the frame.
I then took the paper that came with the frame and glued it on to the rollers to keep the rollers in place and have a bottom to the Jewelry Organizer. Make sure you glue the white side to the rollers so you don't see this picture through the rollers on the other side.
Once the glue has dried, flip the picture frame over and this is the final result.
You could use these Jewelry Organizer for your rings or earring studs.
I hope you enjoyed this post and you found it helpful.
Please don't forget to LIKE, PIN, or SHARE this post if you found it helpful.
I LOVE Apothecary Jars! I have always wanted them because you can do so much with them and put different things inside them to go with so many different themes. What I DIDN'T like about them was the price! Apothecary Jars can cost anywhere from $18 to all the way up to $60! Yikes!!! Even though I LOVE them I couldn't see myself spending that much on one Apothecary Jar. Recently I had been on Pinterest and saw some posts on how to make Apothecary Jars with some old vases and candle sticks and I got inspired to create my own. Usually I would post on here the websites that I got my inspiration from but the truth is there are so MANY post on Pinterest on how to make Apothecary Jars that if I would link up all the post it would take up this whole post LOL. So lets just say that I got my inspiration from MULTIPLE post on Pinterest. LOL Thank you to all on Pinterest who inspired me and gave me some ideas. I took from each post what I liked about them and came up with some ideas of my own and create my own Apothecary Jars. I was so happy with how my Apothecary Jars came out! In fact, I like the ones I made better than the ones in the store and mine only cost $3 or less to make them. So let me get right into the post so I can show you guys how I created my own Apothecary Jars.
Sorry for the blurry picture. The main material that you will need to make these Apothecary Jars is E6000 glue. This glue works great for glass projects. You should let the glue dry for at least 24 hours without touching or moving the pieces that you are gluing together.
These are some of the things I used to make the different types of Apothecary Jars. I used different size glass vases, different size glass bowls and glass candle sticks. I got them all from Dollar Tree. I also used small and large glass lids from old candle jars that I clean out after the candles were burned down.
To make my first Apothecary Jar I used this slim glass vase, glass candlestick, and I used the lid from this round glass jar that I also got from Dollar Tree. The round glass jar won't go to waste because I have another DIY project in mind for the round glass jar without the lid. Nothing will go to waste because I will always have something in mind for it.
First thing I did was, I attached the glass candlestick to each vase. I turn the vases upside down and glued the candlestick to the bottom of the vase in the center using the E6000 glue. Do not touch or move the candle stick for 24 hours.
I then used a butter knife to remove the plastic rim from the jar lid because I didn't want the plastic to show through the Apothecary Jar and I love the look better when it is all glass.
This is how the first one came out.
I use the same things to make this Apothecary Jar except for this one I used a smaller vase.
For my next Apothecary Jar, I had to make a different lid for it than the one I used in the previous Apothecary Jar because this Vase's rim opened up wider than it's base. This is one of the ideas on pinterest that I saw but instead of gluing a knob on the small bowl, I decide to use what I had at home instead of buying something. What I had at home were old glass candle jars and the lids would be perfect to use instead of a glass knob to glue onto the small bowl.
I popped off the plastic rim off the small glass candle jar lid just like I did with the glass jar lid from the previous Apothecary Jar I made.
Then I glued the small glass lid onto the small glass bowl with E6000. Wait 24 hours to dry.
This is how it turn out.
Now I will admit if you do not put the lid on right with this Apothecary Jar it will tip over like this.
One way to prevent this is by putting four hot glue dots on the bottom of the bowl. I didn't like the way it looked so I removed the glue dots and just kept it without it. Once you put your contents in the Jars your lid won't move much and unless you bump it, it won't move so I didn't have a problem with it staying in place but if you want some security then you can do the Hot Glue dots on the bottom of the bowl.
For the next Apothecary Jar I needed to make a different lid as well because the vase I used for this Apothecary Jar was a wider vase. To make the lid I used a medium size glass bowl and a small glass candle jar lid.
I glued the small glass candle jar lid to the glass bowl with E6000.
This is how this one turn out.
My last Apothecary Jar was easy to make because I did not have to make a lid for it. The lid from a old large glass candle jar fit perfectly in this shaped vase.
This is how my last Apothecary Jar turn out.
This is how three of them looked put together.
Again I am sooo HAPPY that I found ideas on Pinterest on how to make my own CHEAPER and BETTER LOOKING Apothecary Jars. All these Apothecary Jars cost me $3 or less each to make and that is WAY CHEAPER than $18-$60.
Stay tune for future post on how I use my new Apothecary Jars and what I put inside them.
Coming soon is a post title Valentine's Day Dollar Tree Apothecary Jars.
Don't forget to LIKE, SHARE, or PIN this post if you like it and found it helpful.
Do you ever get frustrated with all the bottles that you have in your shower that are hard to squeeze the contents out of them especially when they are wet? I was, so I decide to come up with a way to ORGANIZE MY BATHROOM CLUTTER in my shower and make it easier for me to get the content I wanted by REUSING some empty hand soap bottles.
This is how my shower rack looked before, which was not bad but I wanted to come up with a way to ORGANIZE the bottles better and make it easier for me to get whatever content I needed out of the bottles easily.
First thing I did was I collected a few empty hand soap bottles that I had. I love using the hand soap bottles because they have the easy push down dispensers on them. Then I removed the label and used Goo Gone to remove all the stickiness that was left on the bottles from the label.
I used my label maker and the white plastic tape to label all the bottles with the contents that I was putting inside them.
I made sure to collect different color bottles because I wanted each content to have a different color bottle. I filled up each bottle and then put the names of each content on the front of the bottle by using my label maker.
I knew that I was going to put the bottles side by side on the shower rack so I put the initials of each content on the side of the bottles as well so I could know what is in each bottle.
Then I put all the bottles side by side in the shower rack and they fit perfectly. I even have space for one more bottle on the left side if I need to add something.
Now my SHOWER RACK is ORGANIZE and I can EASILY get out whatever content I need out of the new bottles even if they are wet.
I hope this helped or gave you guys some ideas on how to ORGANIZE your BATHROOM or SHOWER RACK!
Hello Everyone it is time to get organized. Anyone who knows me knows that I like things organized and I actually LOVE to organize! Yes I know I am weird but I do like to organize messes it relax me some how and I find fun in it LOL. I needed to get some papers organized in my craft room so I decide to make these organizers I saw on my beloved Pinterest out of cereal boxes. I love it when I can take something I already have and use it for something else. Less waste and saves me money.
So first of course you need an empty cereal box ( I recommend a big family size cereal box because they can hold any size paper and magazine) and some wrapping paper or contact paper.
Cut the flaps on top and down the sides leaving a piece for the base.
Then cut at an angle from the base piece you left to the top of the box on both sides.
Then wrap and tape.
I then made some cute labels on my computer because you know I love to label things.
If you want to make the ones that can stack up on top of each other you are going to need two large cereal boxes and tape down the flaps on top and bottom. The cut out one side of the box.
Then wrap them with the wrapping paper.
Then stack them on top of each other and staple them together.
I didn't like how they look on the inside so I glued some black construction inside of it.
I didn't want the weight of the top section to bend the bottom section so I added a piece of foam board to the inside of the top tray.
I use one by my printer to organize my printer paper and photo paper.
Also one by my Laminator to hold my lamination paper.
Hope you enjoyed this post. Please pin or like it.
Also leave me a comment on some things that you re use to organize your house. I love sharing ideas with each other.