HELLO SEPTEMBER! My favorite season of all is the FALL! I love the colors, baking spice smells, and the cool air. Also I get excited because I always have fun activities to with the kiddos! Since yesterday was the first day SEPTEMBER I decide to kick the season off with some "APPLE LEARNING FUN"! The girls had so much fun and we even had their friend over to join in the activities and she enjoyed it as well.
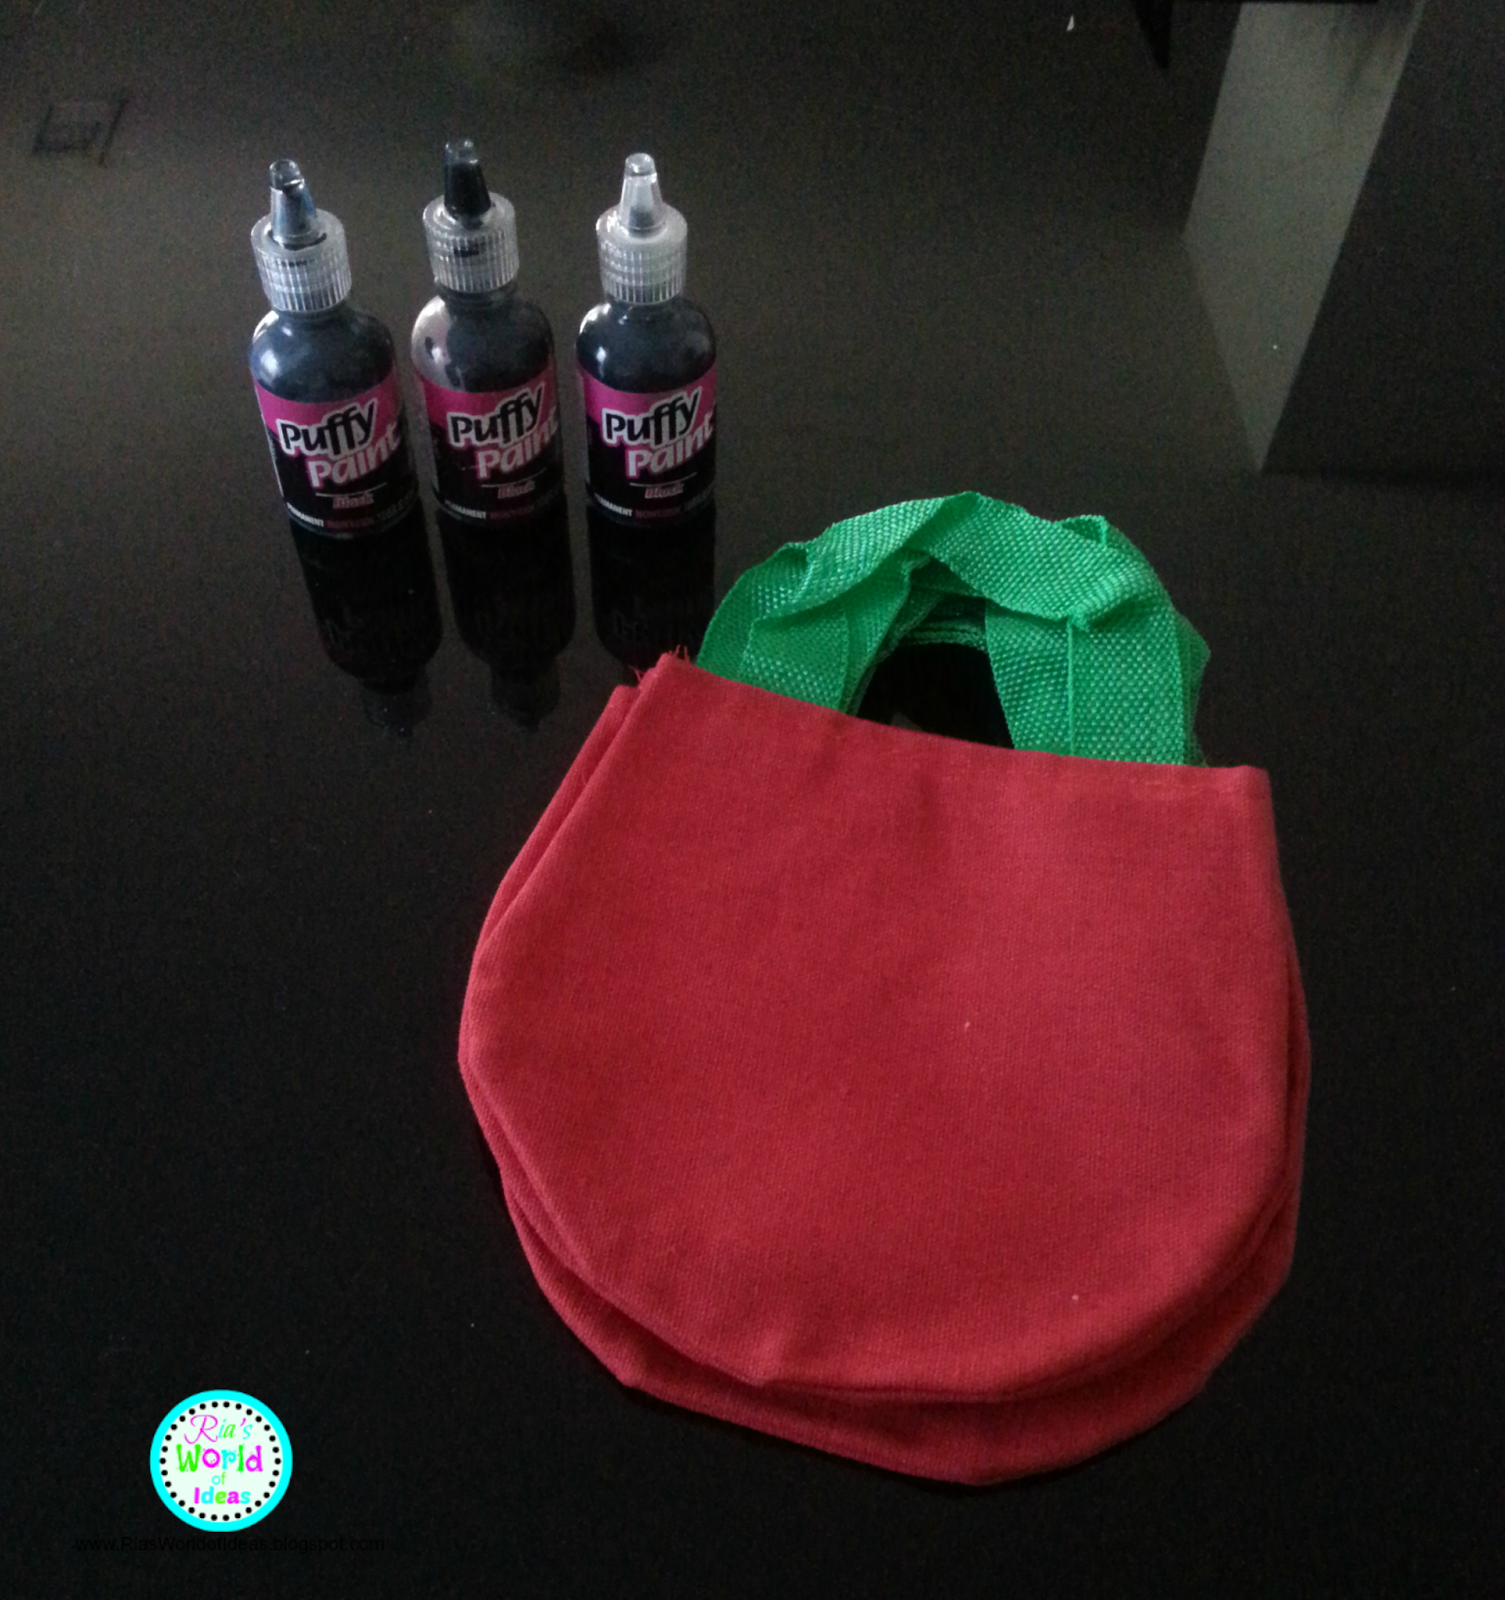
First we started with decorating APPLE purses. I found these on www.orientaltrading.com when they were on clearance last year.
To make it easier for the girls to be able to fit their names on their bags I wrote their names for them with a Sharpie marker.
Then I gave them the puff paint to trace over their name. I helped Bri because puff paint can come out fast and make a big blob of paint if you squeeze it to hard.
These were the finish purses.
Then it was time for the "APPLE HUNT". When we lived in Texas there was never a place to go "APPLE PICKING" so I came up with this "APPLE HUNT" game they could in way go "APPLE PICKING" but in their back yard.
So while I hid the APPLES all over the back yard I told the girls to go get some baskets or bags for their "APPLE HUNT" giving me time to hide them. I also let them know it is ok if an APPLE is outside or on the ground because we were going to wash them up anyway afterwards and when APPLES comes from an orchard some have fell on the ground as well so it is ok to still eat them LOL.
Once I was done hiding them I let them go hunt for their APPLES.
They were excited with all the APPLES they found!
Next since I knew we had to wash the APPLES up I turn this activity to a "SINK OR FLOAT" SCIENCE ACTIVITY with the girls to add some learning. I asked the girls which APPLES did they think would sink and which did they think would float. All of the girls said the same thing that the small APPLES would float and the big APPLES would sink. They learned though (as you can see in the picture) that all the APPLES floated!
Then we decided to have some fun with the APPLES and do some "BOBBING FOR APPLES". I don't like spreading germs so I gave each girl their own bowl LOL!
They all learned that by grabbing the steam you could get the apple easier!
Next we did a "
TASTE TESTING" experiment that I found over at
http://almostunschoolers.blogspot.com/2010/07/minty-apples-thirty-second-science.html. The experiment shows how your sense of smell can affect your sense of taste. To learn more about that click on the link above and it will take you to the post I got this idea from. The girls had to try the
APPLES and taste how they taste normally (I used green Granny Smith
APPLES) and while they did that I soaked a cotton ball in Vanilla Extract.

After they tasted the APPLES with out smelling anything then I had them smell the cotton ball that was soak in Vanilla Extract and then eat another piece of the APPLE. Then I ask them if the APPLE tasted different. They said that the APPLE tasted sweeter then before which shows that their sense of smell indeed change their taste buds because the APPLE that they ate were Granny Smith APPLES which are sour apples. The Vanilla Extract which is sweet itself changed their taste buds showing that your SENSE OF SMELL can change your SENSE OF TASTE.

After our
TASTING EXPERIMENT we did another experiment that I found over at
http://teachbesideme.com/apple-science/ called
APPLE SCIENCE "WHAT KEEPS IT FROM BROWNING". You can click on the this link as well to see the post I got this idea from. For this
EXPERIMENT we soak piece of APPLES in different substances like lemon juice, vinegar, baking soda, milk, pineapple juice, and water. One of the pieces had nothing on it because anytime you do an experiment you have to have a control subject so you can compare the effects that other substance had to the
APPLE. Before we did the experiment I ask the girls which substance did they think would help the
APPLE not turn brown. Ari picked the lemon juice, vinegar, and baking soda. Bri picked lemon juice and milk. Stella picked vinegar, lemon juice, and baking soda.

We wait till the APPLE we did nothing too turn completely brown to check the others. We found out that the lemon juice and the milk worked the best to prevent browning. Also the pineapple juice and vinegar slow down the browning. Stella had a good idea to take the EXPERIMENT further and asked if they could taste the APPLES to see if the substance we used change the flavor of the APPLES. I said sure because all the substance we used were things you could eat. So I cut the APPLE pieces into three pieces to let each of them try the it. They said all the substance didn't change the taste of the APPLE except the baking soda. They and I (I tried it too) spit that one out so fast!! LOL I told them that we will stick to baking soda just for our baking!! LOL. I was surprise to see that they even liked the one that was in vinegar and they said it didn't change the taste of the APPLE.

Our next
EXPERIMENT we did I found over at
http://teachingmama.org/8-apple-activities-for-preschoolers/ called
JUMPING APPLE SEEDS. For this
EXPERIMENT you mix 2/3 tsp of baking soda with 1/2 cup of water in a clear container. Then drop the
APPLE seeds and 1 Tbsp of lemon juice in the container. Wait for a little while and you will see the
APPLE SEEDS start jumping up and down. The girls thought is was so cool and loved this
EXPERIMENT. The seeds were jumping up and down for a good while too. Ari had an idea to take this
EXPERIMENT a step further. Since I had to squeeze the lemons to get the lemon juice for the other
EXPERIMENT I had lemon seeds. Ari asked why don't we see if the lemon seeds will jump too. I said ok because I love it when the girls really start to
THINK and want to expand their
SCIENCE learning. So we put the lemon seeds in but they didn't jump like the
APPLE seed did but we didn't notice that when we put the lemon seeds in, the
APPLE seed started to bounce faster I guess from the lemon juice on the seeds.

With the rest of the seeds I gave the kids their own pot and told them to get some dirt and we would plant the seeds in their pots. I don't if anything will grow but we will see. LOL
Our next activity was a painting one. In the core of the APPLES were the seeds are there is a star shape. So after I removed the seeds I set out the STAR CORES and some red, yellow, and green paint and let the kids paint.
I let them create whatever design or prints they wanted. Most PAINTING PROJECTS that my girls enjoy are when they are able to create whatever they want. Using the APPLE core instead of a paint brush was cool for them too!
While they painted I made homemade "APPLESAUCE" in the CROCKPOT. I used the Red Delicious APPLES but the recipe called for Golden Delicious APPLES.
The Recipe is:
- 16 APPLES
- 1/2 cup Water
- 1 cup sugar (you can not add it or add less if you like)
- 2 tsp cinnamon (optional if you like cinnamon APPLESAUCE)
Core, peel, and cut up the APPLES into small pieces. Put the APPLES, water, sugar, and the cinnamon into the crock pot and cook on High for 2 1/2 hours or on Low for 5 hours. After the APPLES are cooked use a mixer to blend the up the APPLESAUCE. Then it is ready to eat, refrigerate, or even freeze it.
My girls didn't really like the homemade APPLESAUCE but my girls are so picky with food. Maybe next time I will try it with Golden Delicious Apples or another recipe.
So that was our day of "APPLE LEARNING FUN"! The girls had so much fun and even though it seemed like a lot I was happy because my girls were enjoying it.
Please like, share, or pin this post if you enjoyed it.
Also please leave me a comment on some of your favorite APPLE activities.