Tuesday, February 9, 2016

Valentine's Day Sensory Box with Dollar Tree Items


I love making different kinds of Sensory Boxes to go with themes or the Holiday seasons for my girls. Sensory boxes are great things to make for your kiddos because not only will they have fun with them but it also helps them with their FINE MOTOR SKILLS in their hands that will help them with writing with a pencil or cutting with scissors when they go to school. By pouring and scooping things up in this sensory box, children work the muscle in their hands to help them in the future in school. I wanted to share with you  guys a Valentine's Day Sensory Box that I created for my girls with Dollar Tree Items.


The materials I used was a plastic tub, dry uncooked rice (but you can use white dry beans as well), heart measuring cups, and some Valentine's Day items. All the items pictured above I got at Dollar Tree.


I poured the rice first and then added the items I purchase at dollar tree.


I found some red plastic cups that I had and added it to the sensory box to go with the Valentine's Day theme. I also put in the heart gems and buried some in the rice so that Bri could explore to find them.


Then I let Bri have fun and explore with it. I did add some alphabet magnets one day to the sensory box and as she found them in the rice, I would ask her what letter it was and the sound it makes to practice letter recognition. Another day we practiced counting by counting the heart gems every time she put some in a cup. This sensory box not only helps with fine motor skills but it can be adapted in so many ways to teach other things as well to your kiddos.

What are some fun Valentine's Day theme learning activities do you do with your kiddos? Let me know in the comments below. 

Don't forget to LIKE, PIN, or SHARE this post if you liked it or if you found it helpful.

XOXO
RIA


Saturday, February 6, 2016

DIY Dollar Tree Mini Jewelry Organizer


Hello Everyone! As you know I love making my own things and if I can get all the materials to make something for free or at dollar tree than it makes me even more happier. Today I want to share with you a DIY Dollar Tree Mini Jewelry Organizer that I created just using Dollar Tree items.


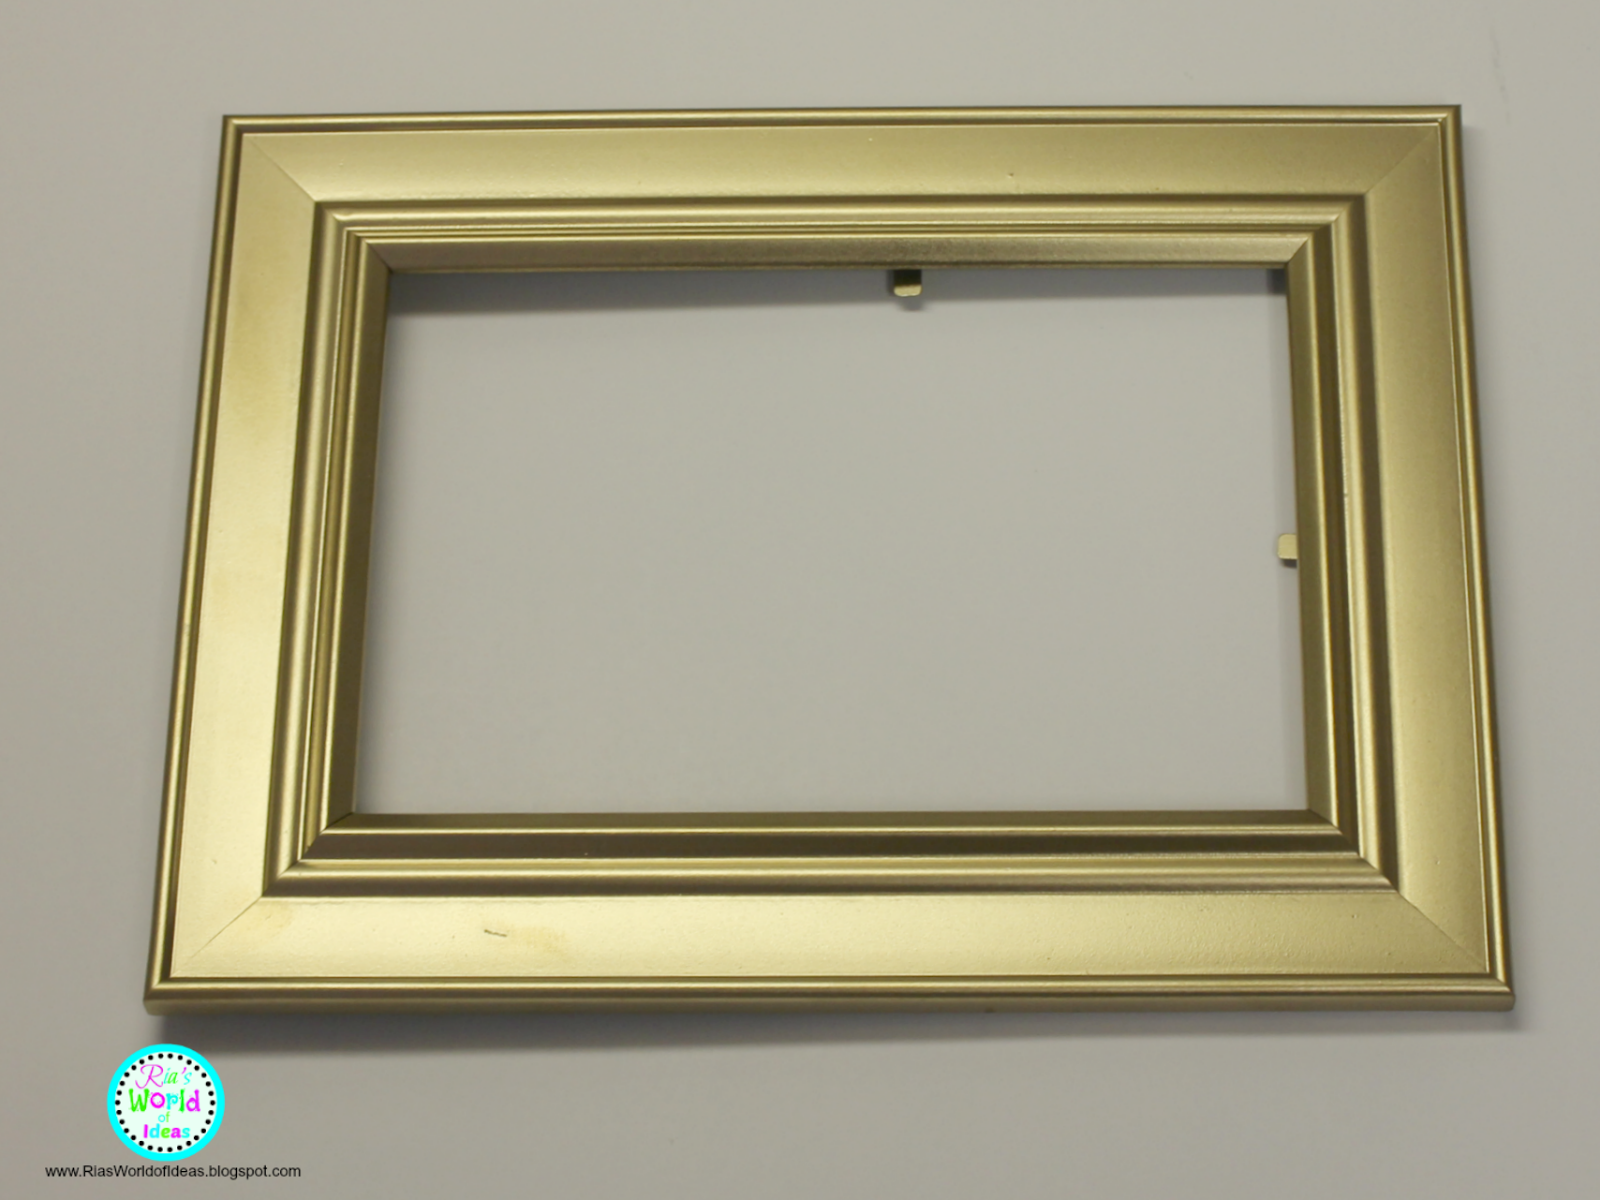
The materials you will need is a 4x6 picture frame and a 6 pack of these long pink skinny hair rollers. You only need six rollers but I got two packs because I always like to have extra on hand just in case.


I wanted my picture frame to be gold so I spray painted it gold with some gold spray paint I already had at home. The dollar tree does sell gold picture frames but they didn't have any the day I went in to get my materials.


Then I took out the metal that was in the inside of the rollers.


Now it was time to glue. I was going to use hot glue but I decided to use E6000 instead because the hot glue would burn the foam rollers. I flipped the picture frame over and glued the rollers in onto the back of the frame.


I then took the paper that came with the frame and glued it on to the rollers to keep the rollers in place and have a bottom to the Jewelry Organizer. Make sure you glue the white side to the rollers so you don't see this picture through the rollers on the other side. 


Once the glue has dried, flip the picture frame over and this is the final result.


You could use these Jewelry Organizer for your rings or earring studs.

I hope you enjoyed this post and you found it helpful.

Please don't forget to LIKE, PIN, or SHARE this post if you found it helpful.

XOXO
RIA


Thursday, January 28, 2016

Valentine's Day Heart Gems Decor


YouTube Video


Hi everyone. For the past few days I have been sharing with you my Valentine's Day Decor ideas that I have made this year with dollar tree items. Here are the last two things that I created using Dollar Tree items. 


I have used these Gem hearts before for the Valentine's Day Heart Gems Counting  learning activity I have done with Bri during Preschool and Pre-K learning at home. (click on the link to take you to the post on the learning activity). This year I was going to use these gem hearts to decorate for Valentine's Day. I made two Valentine's Day Decor with these gems.


For the first Valentine's Day Decor, I used these two square vases.


I then filled this vase with the pink heart gems. It took two bags to fill the vase.


I picked these white roses to go with the pink heart gems.


I cut the stems so the flowers could be shorter and fit the vase nicely. This arrangement took two flower bunches.


For the next Gem decor I used this rimmed vase.


I took some green foam, cut it in half, and put it in the middle of the vase. I did this so I would not have to use so many heart gems to fill the vase.


I then filled this vase with the red heart gems.


I then took a white candle and put a red heart sticker on it to make it look more decorative.


I then placed the candle on top of the red heart gems.


This is how I placed my new Valentine's Day Decor on my mom's fireplace.

I hope you enjoyed all my DOLLAR TREE VALENTINE'S DAY DECOR ideas that I have been sharing with you this week. 

Please share with me in the comments section below some of your DIY Valentine's Day creations. I love to see them!

Don't forget to LIKE, PIN, or SHARE  this post if you liked it and found it helpful.

XOXO
RIA


Wednesday, January 27, 2016

Valentine's Day Topiary


YouTube Video


Hi everyone I have another Valentine's Day Decor idea that I made that I wanted to share with you guys. This Valentine's Day Decor idea I found on Pinterest titled Candlestick Topiary tutorial (click on the title to go to the blog post). The blog post came from the website Stay at home Artist .I thought this decor was so Beautiful and so easy to recreate.


The materials you will need are a candle stick, foam ball, flowers, and craft glue. I got everything from Dollar Tree except the glue.


The first thing you do is glue the foam ball to the candle stick. I actually used E6000 glue for this part. Let the glue dry for 24 hours.


Take the flowers off their stem and put craft glue on the point of the flower.


Starting from the bottom, poke/stick the point of the flower into the foam ball. Make sure that you push the point of the flower all the way through into the foam ball. 


Keep pushing in the flowers from the bottom to the top in any pattern you choose. This one was mine and I choose to have the different color flowers alternating throughout.


This one was my mom's Topiary and she chose to have the different colors in rows. 


This is how my Valentine's Day Topiary looked on my mom's fireplace.

Don't forget to LIKE, PIN, or SHARE this post if you liked it or found it helpful.

XOXO
RIA


Saturday, January 23, 2016

Valentine's Day Dollar Tree Apothecary Jars


YouTube Video


Hi everyone! So Valentine's Day is coming up and I wasn't going to decorate this year for Valentine's Day as I have done before because my family and I are staying at my parent's house until our house is built. But then I saw a post on Pinterest title 30 DIY Valentine Decorations Ideas (Click on title to go to the post) and I got inspired to decorate my moms house for Valentine's Day. One of the ideas I liked was how they filled some Apothecary Jars with Valentine's Day decorations. Since I just recently made my own Apothecary Jars, I thought this would be such a cute Valentine's Day Decor to recreate. If you would like to see the blog post on how to make your own Apothecary Jars click here ---> DIY Dollar Tree Apothecary Jars. I notice that some of the things they used to fill the jars with, I could get at Dollar Tree and I would come up with another way to fill the other jar.


The above pictures show all the Valentine's Day decorations that I purchased at Dollar Tree for this project.


This is one of the Apothecary Jars I made with Dollar Tree items.


I took the hearts off the sticks and put them inside this Apothecary Jar with the shredded papers.


Here is another Apothecary Jar I made.


To fill this one I used the hearts on the string and used one of the sticks from the small hearts to make it stand up in the jar.


This was another Apothecary Jar I made.


To fill this one I just used pink and red rose petals


This is how the Apothecary Jars look on my mom's fireplace. The other Valentine's Day Decor on the fireplace I will share in a future post.

I love how this Valentine's Day decoration came out. Please leave me a comment below on some of your favorite ways to decorate for Valentine's Day.

Don't forget to LIKE, PIN, or SHARE  this post if you liked it or found it helpful.

XOXO
RIA