

Hello Everyone! As you know I love making my own things and if I can get all the materials to make something for free or at dollar tree than it makes me even more happier. Today I want to share with you a DIY Dollar Tree Mini Jewelry Organizer that I created just using Dollar Tree items.

The materials you will need is a 4x6 picture frame and a 6 pack of these long pink skinny hair rollers. You only need six rollers but I got two packs because I always like to have extra on hand just in case.
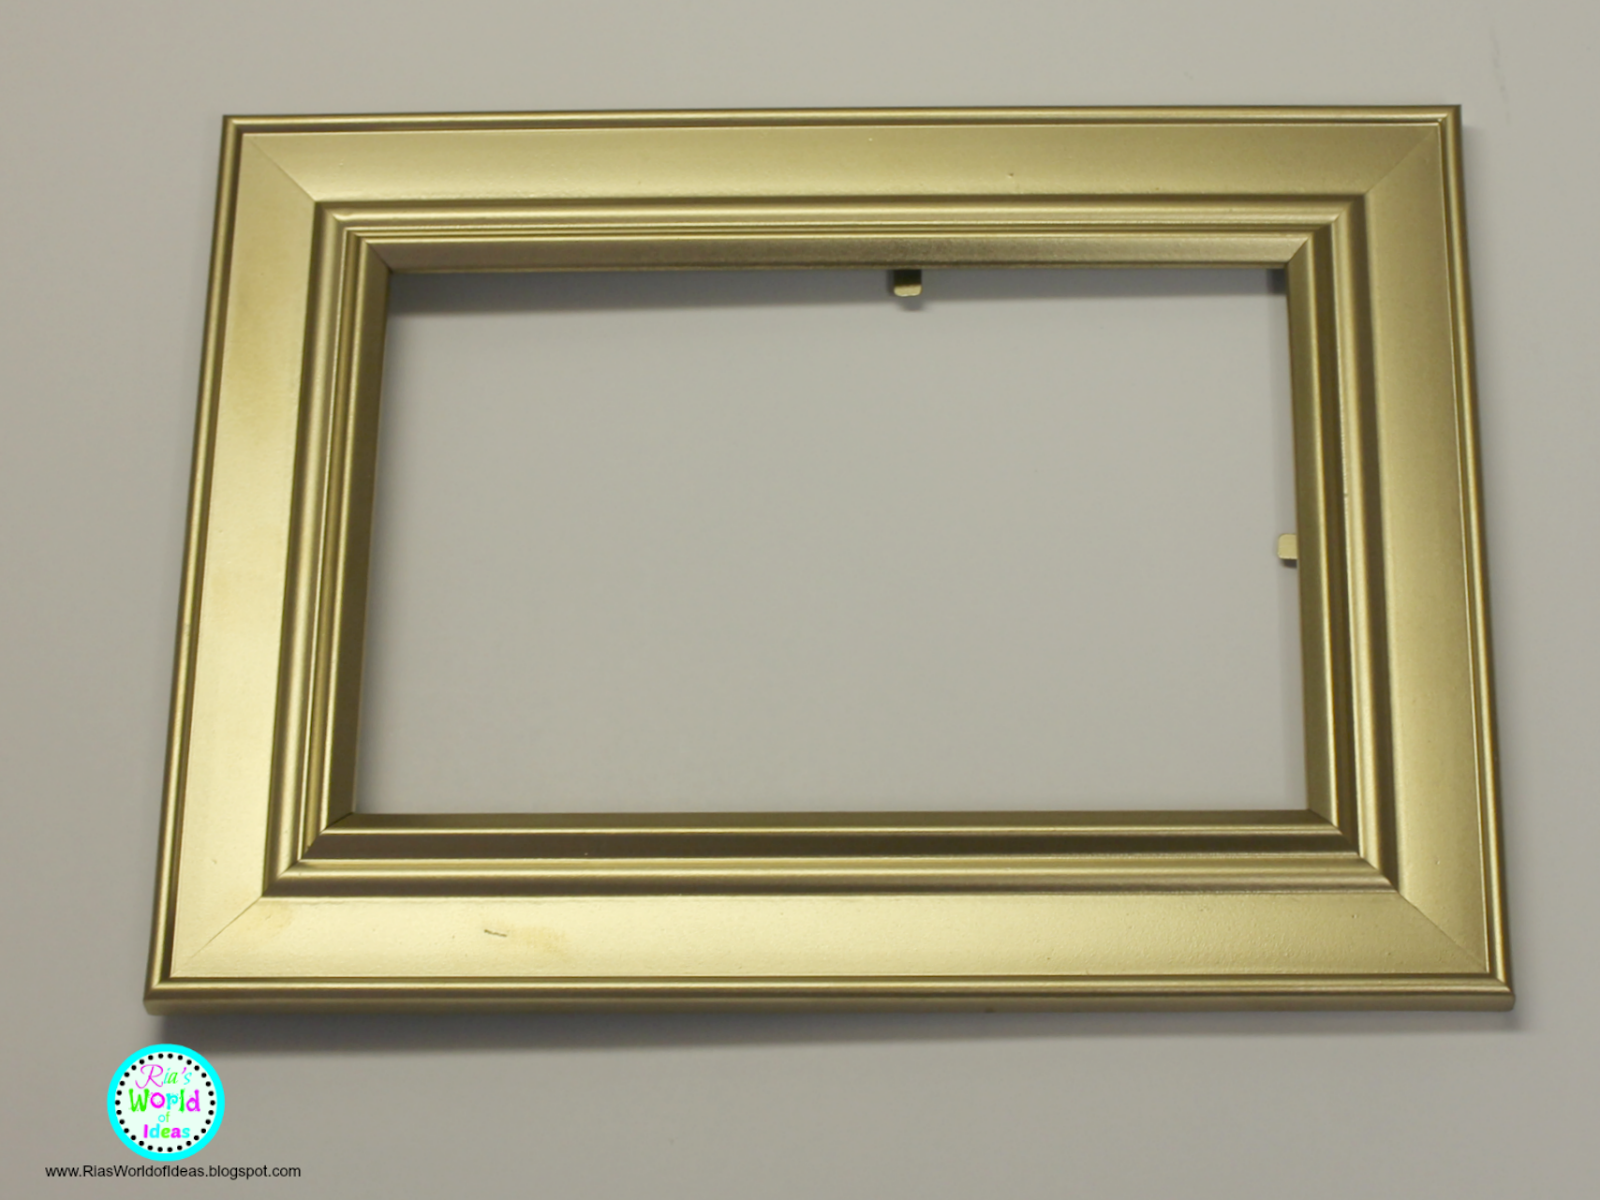
I wanted my picture frame to be gold so I spray painted it gold with some gold spray paint I already had at home. The dollar tree does sell gold picture frames but they didn't have any the day I went in to get my materials.

Then I took out the metal that was in the inside of the rollers.

Now it was time to glue. I was going to use hot glue but I decided to use E6000 instead because the hot glue would burn the foam rollers. I flipped the picture frame over and glued the rollers in onto the back of the frame.

I then took the paper that came with the frame and glued it on to the rollers to keep the rollers in place and have a bottom to the Jewelry Organizer. Make sure you glue the white side to the rollers so you don't see this picture through the rollers on the other side.

Once the glue has dried, flip the picture frame over and this is the final result.

You could use these Jewelry Organizer for your rings or earring studs.
I hope you enjoyed this post and you found it helpful.
Please don't forget to LIKE, PIN, or SHARE this post if you found it helpful.
XOXO
RIA
No comments:
Post a Comment